Step 1: cut a hole in the back of the battery box (as high as possible without compromising the structural integrity of the box, i.e. don't cut into the metal).
Step 2: cut a hole in a convenient place in the back of the car. In my solution to this problem, I cut the hole in the back of the spare tire well, the only place I could find with a reasonably flat section for the fan assembly to seal against. View (upside down) from inside of trunk. So, the fan will blow air into the space behind the bumper cover.
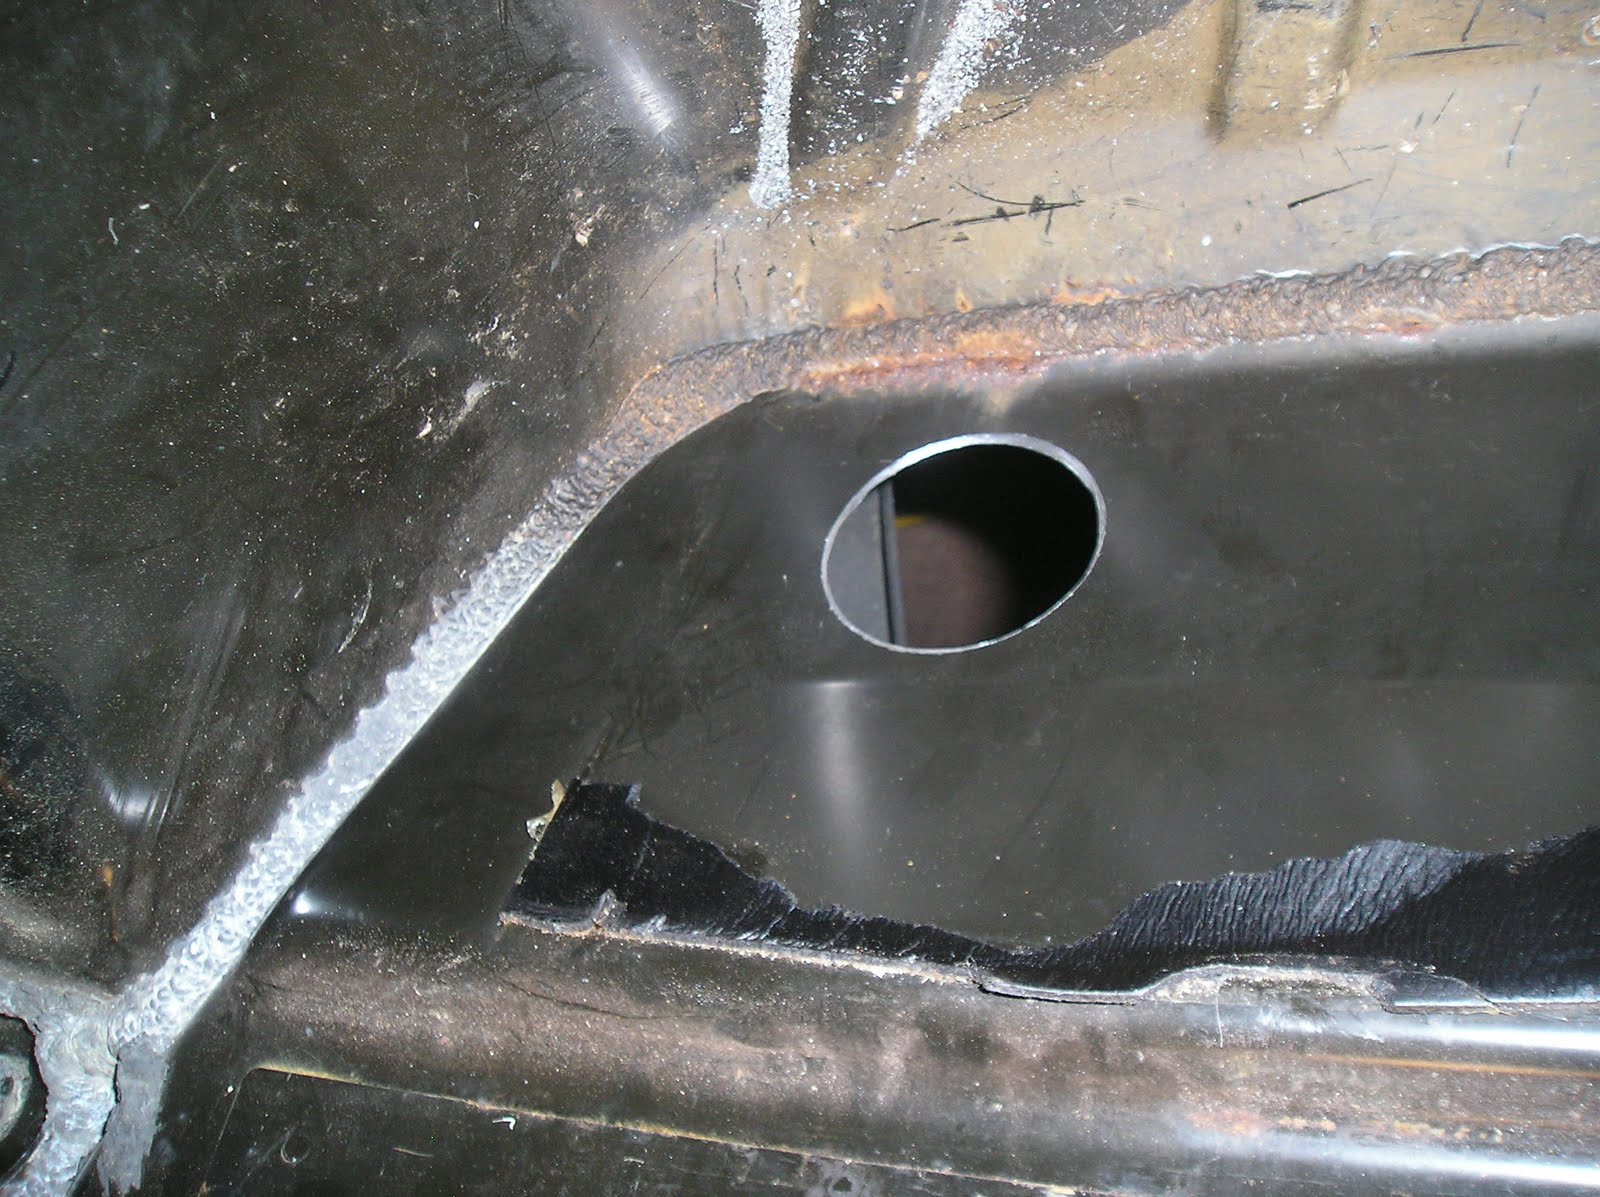
View from behind the car (bumper cover removed).


Step 4: attach the large plywood to the back of the trunk with sheet metal screws so that the wood cut-out is sitting directly over the hole cut in the trunk wall. Since this joint will be positive pressure, I used a thin silicone gasket to ensure it is air tight.

Step 5: create the fan sandwich and attach wires to the fan (power taken from cargo light [always on], ground wire attached to ground terminal in rear enclosure). The joint between the fan and the large plywood is also positive pressure, so another silicone gasket was used here as well.

Step 6: cut the rib off the end of the hose fittings and jam them into the holes (battery box and fan sandwich).


Step 7: connect the accessory battery, and confirm that the fan is blowing out of the back of the trunk.
Air flow confirmed.

No comments:
Post a Comment